
IoT Work Order Tablet
by Viindoo
| Lines of Code | 974 |
| Technical name | viin_iot_mrp_workorder |
| License | OPL-1 |
| Website | https://viindoo.com/apps/modules/17.0/viin_iot_mrp_workorder |
| Read description for | |
| Required Apps | Manufacturing (mrp) Invoicing (account) Discuss (mail) Employees (hr) Inventory (stock) |
| Included Dependencies | Advanced MRP Accounting Stock Barcode Mrp Workorder Viindoo Manufacturing Viin Map View MRP Barcode Viindoo Base Viin Warehouse Web Gantt Internet Of Things IoT Manufacturing Viin Cohort View |

Drive the tablet work order from the station's barcode scanner
Scanners assigned to the work centre feed the tablet view of the work order, so operators scan instead of touching the screen.
IoT Work Order Tablet (technical name viin_iot_mrp_workorder) is an Odoo 17.0 app for Odoo Community and Odoo Enterprise and Viindoo Cloud, built for operator.
At a Glance
The facts of IoT Work Order Tablet, version 0.1.0, in one place. Published by Viindoo.
How It Works
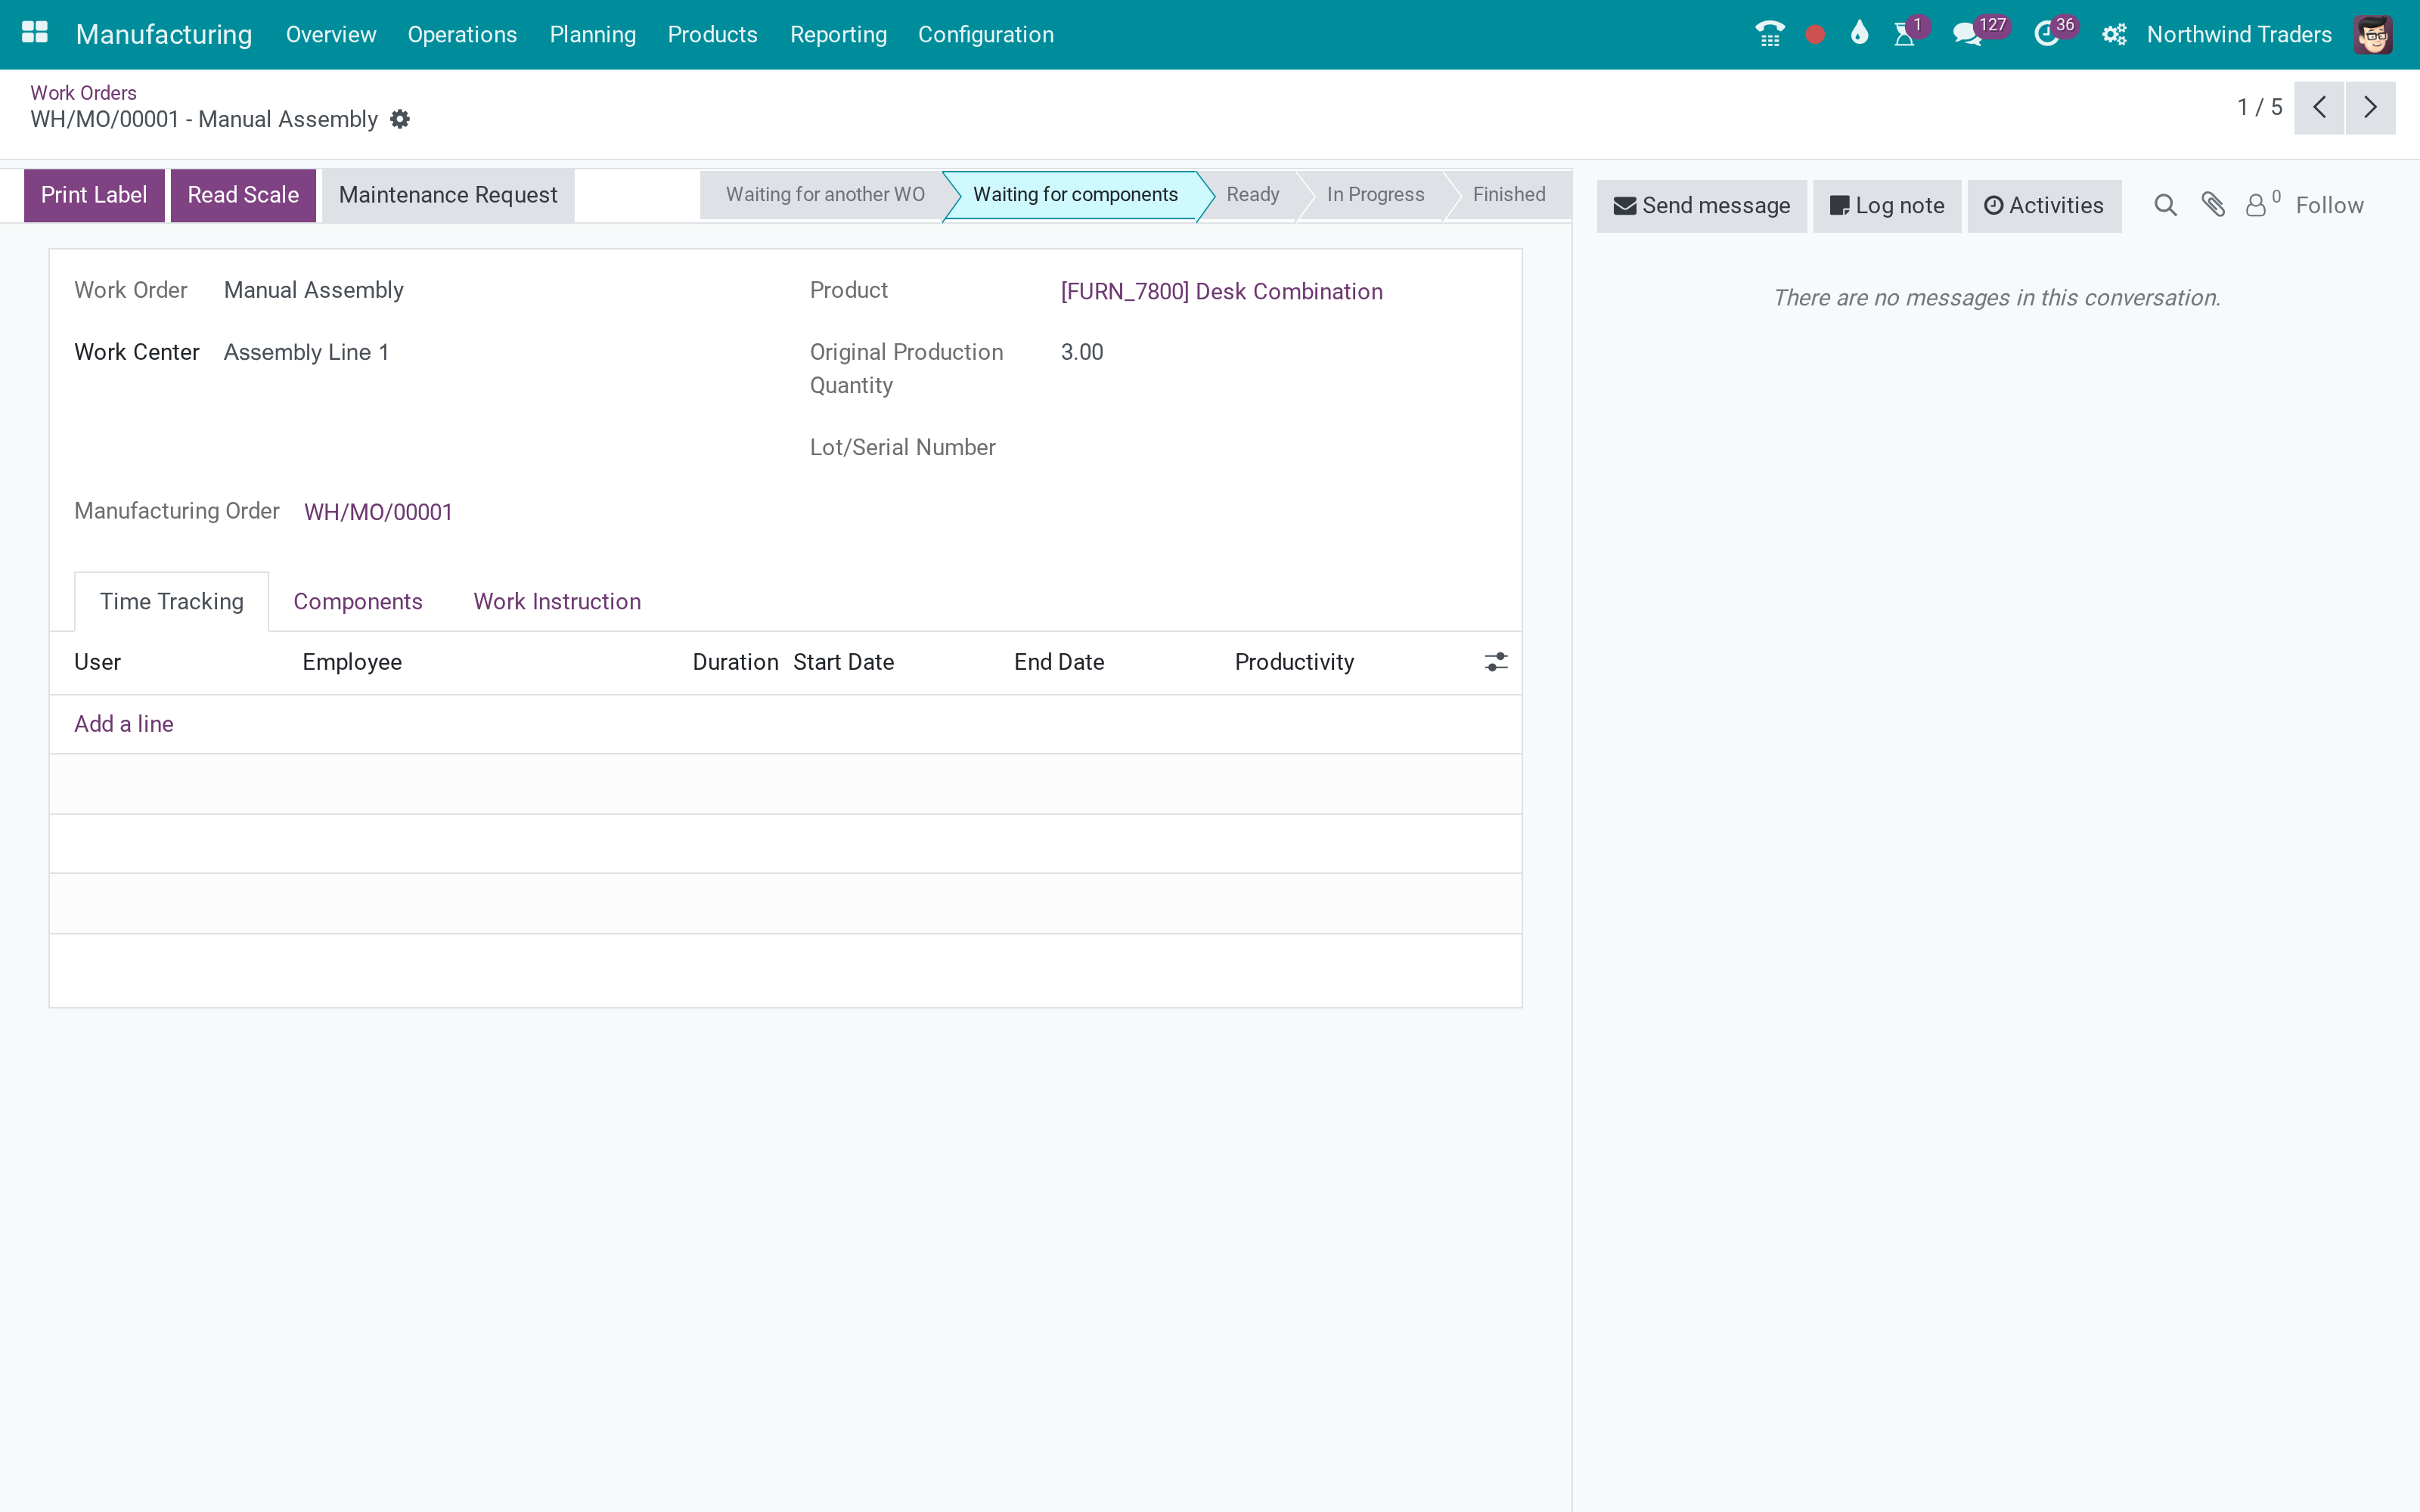
Assign scanners to the work centre.
Work order
Scanner data.
Work centre
Devices.
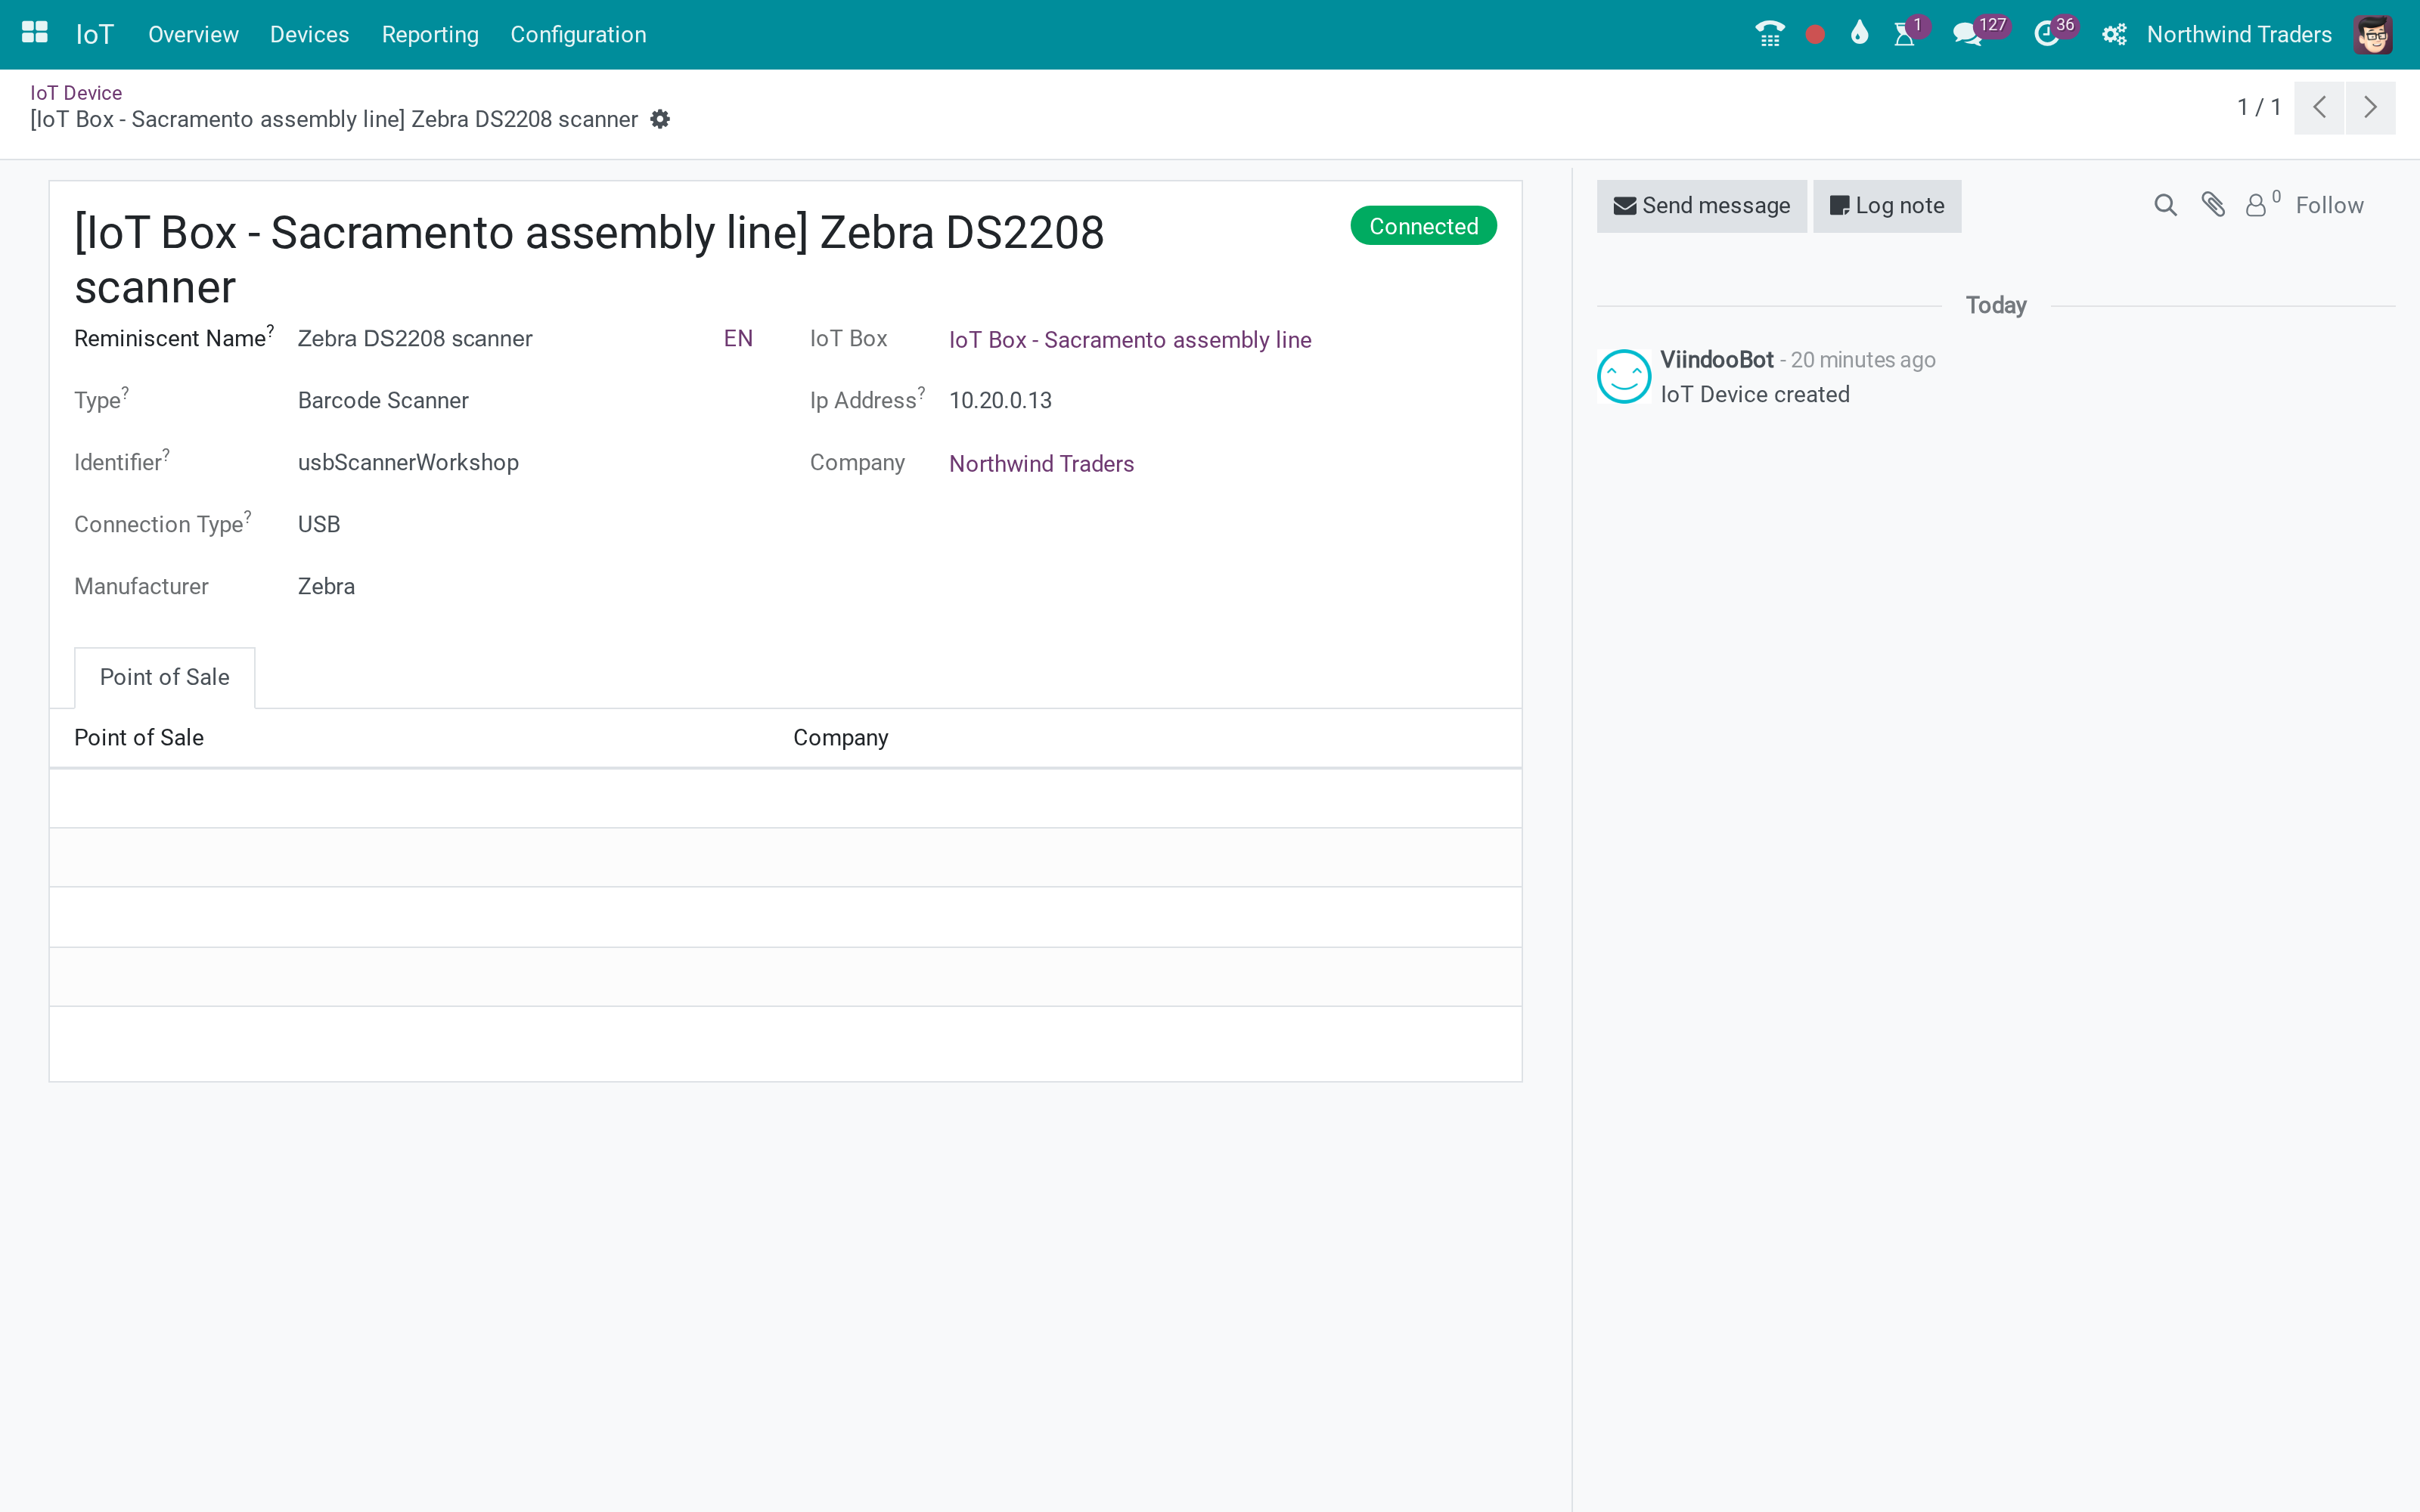
Scanner
The device.
What You Get
Scanner per station
Tablet driven by scans
What This App Does Not Do
Read this before you buy. Everything below is something the app deliberately leaves to another app or to you.
A bridge.
Works Well With
Apps from the same stack, built to fit this one:
Who Should Use IoT Work Order Tablet?
Operator
Scan the lot, scan Done.
Frequently Asked Questions
What does IoT Work Order Tablet do?
Scanners assigned to the work centre feed the tablet view of the work order, so operators scan instead of touching the screen.
What does IoT Work Order Tablet not do?
Nothing else. A bridge.
Who is IoT Work Order Tablet for?
Operator: Scan the lot, scan Done.
Which Odoo version and editions does it support?
Odoo 17.0 - Odoo Community, Odoo Enterprise, Viindoo Cloud. Upgrades to a newer Odoo series are a separate purchase for that series.
What does it depend on?
It installs on top of: viin_iot_mrp, to_mrp_workorder, to_mrp_barcode. Odoo installs them with it.
How do I set it up?
Assign scanners to the work centre.
What works well with it?
IoT - Manufacturing (viin_iot_mrp): Required. Work Orders (to_mrp_workorder): Required.
Can I try it before buying?
Yes - the Live Preview button at the top of this page opens the module's own screen on a working database.
How do I get support?
Write to apps.support@viindoo.com with your Odoo version and the technical name viin_iot_mrp_workorder; pre-sales questions go to sales@viindoo.com.
See IoT Work Order Tablet in Action
Drive the tablet work order from the station's barcode scanner
Need help with IoT Work Order Tablet?
For questions, implementation support, or consulting services, contact Viindoo.
Pre-Sales & Partnership
sales@viindoo.comWhen contacting us, please include:
- Odoo/Viindoo version (Odoo CE / Viindoo Editions).
- Number of users and business scope.
- Other modules currently in use.
Technical Support
apps.support@viindoo.comFor faster troubleshooting, please provide:
- Order number or app reference.
- Odoo/Viindoo version & edition.
- Steps to reproduce the issue.
- Screenshots/logs if available.
Upgrades to a newer Odoo series are a separate purchase for that series.
Technical Requirement
Changes log
0.1.0 - Latest on the 17.0 line
- Aligned with the 17.0 models and views.
IoT Work Order Tablet
Note
Extends viin_iot - see its documentation.
Note
Extends viin_iot_mrp - see its documentation.
An operator running a work order on the tablet screen has both hands on the product, so typing a lot number or tapping Start, Pause, or Done means putting the part down first. This module lets the barcode scanner already wired to that work center's own IoT box do the same job: a scan on that scanner is handled exactly as a scan on a scanner plugged straight into the tablet. A work center with no IoT scanner attached, and a database without this module installed, behave exactly as they do today.
This is a small bridge with exactly two capabilities:
- A scan on the work center's own IoT barcode scanner drives the tablet work order - the same lot binding, the same quantity check, the same printed command buttons a tablet-attached scanner would trigger.
- A Print Label button on the tablet sends the finished unit's label straight to the work center's own nominated printer, reachable by touch or by a printed command barcode.
Note
This guide documents what was actually reachable and visible on a live instance with no physical IoT box or scanner connected. Every screen shown below was captured on that instance; where a behavior needed real hardware to demonstrate, it is described from this module's own code and translations instead, and said so explicitly.
Installation
This module installs itself automatically as soon as its three required apps - Internet Of Things, IoT Manufacturing, and Work Order Tablet - are already installed, so most databases never need to install it by hand.
If it is not installed automatically, or you removed it and want it back:
- Open Apps.
- Remove the default Apps filter so non-application modules are also listed, then search for IoT Work Order Tablet.
- Click Install.
If you do not want it, open Settings ‣ IoT ‣ IoT Integrations and clear the IoT Work Order Tablet checkbox.

Configuration
Attach a scanner to a work center
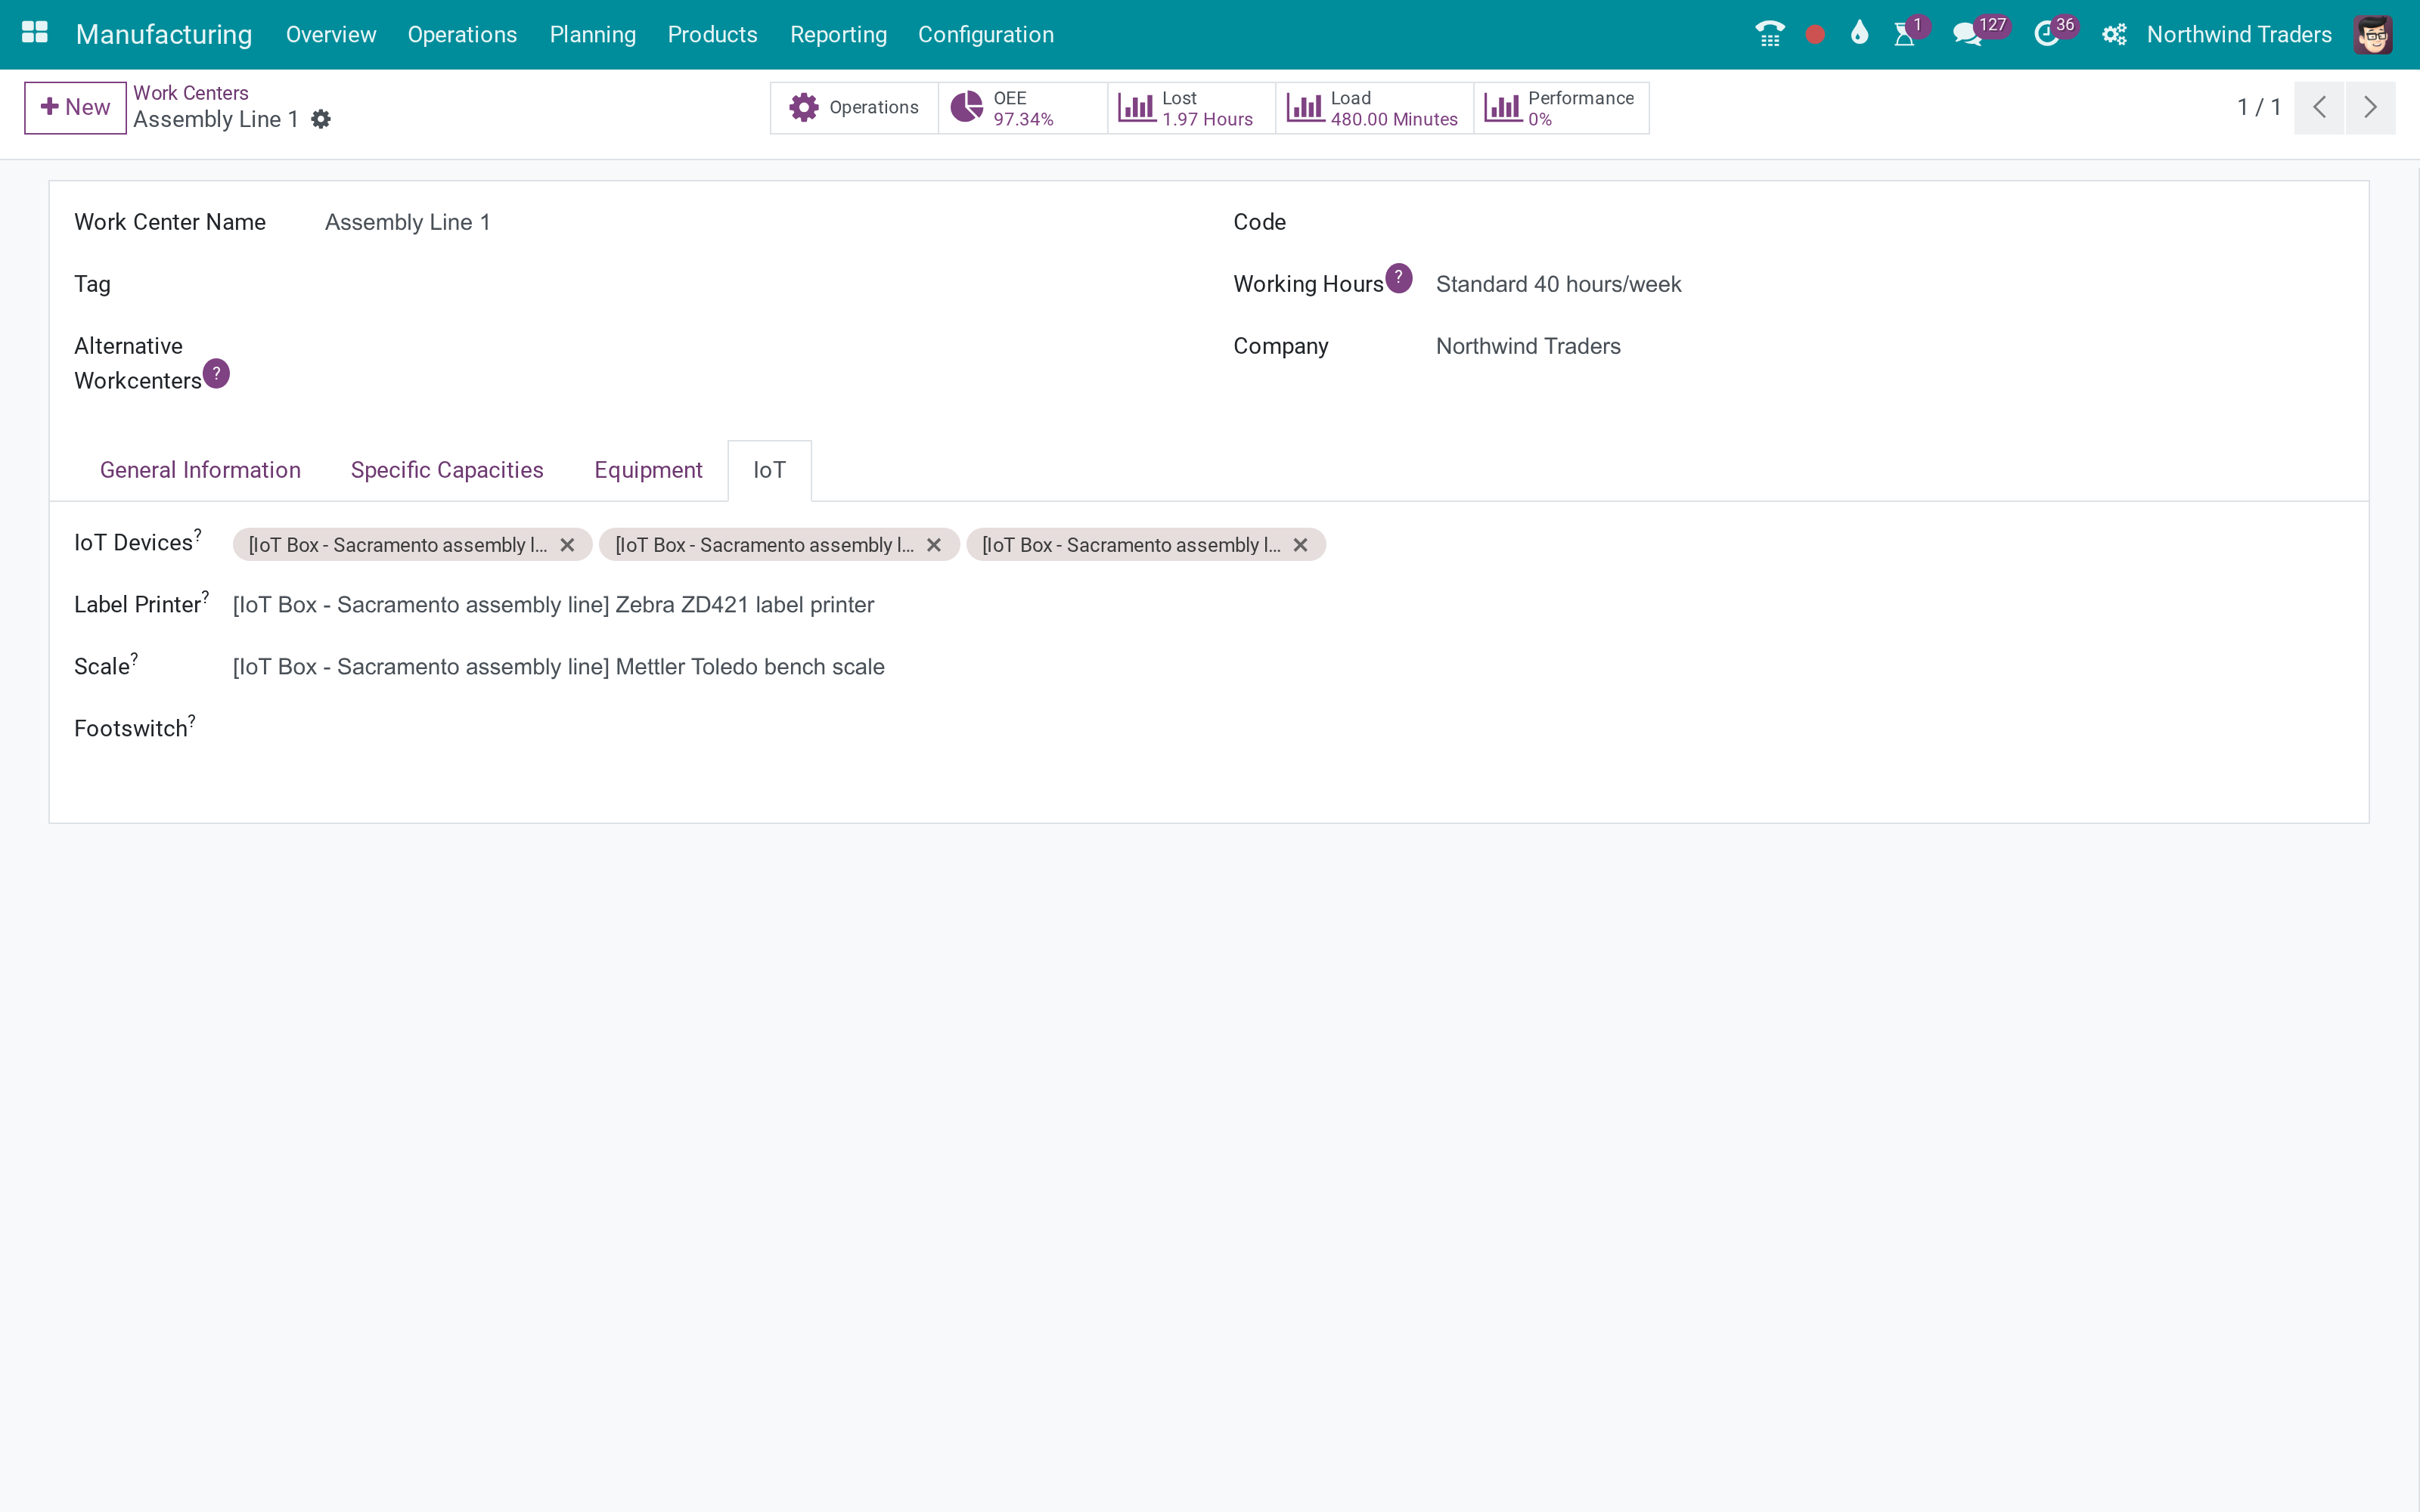
There is nothing to configure inside this module itself. A barcode scanner starts driving the tablet screen the moment it is a registered IoT device of the Scanner type and is attached to a work center's own IoT Devices list - open Manufacturing ‣ Configuration ‣ Work Centers, open a work center, go to its IoT page, and add the scanner there. A work center can carry several scanners at once; every one of them is listened to, and a scan means the same thing whichever scanner produced it, so there is no per-scanner role to nominate.
Registering a new device and choosing its type is done in the Internet Of Things app itself, not here - see that app's own documentation for pairing a box and registering a device. This was not re-verified in this run and is not repeated here to avoid documenting a screen this module does not own.
The finished unit's label prints on whichever device is nominated as the work center's Label Printer - the same field, and the same nomination step, that IoT Manufacturing documents for its own Print Label button. Nominating a printer is what makes this module's own Print Label button appear on the tablet screen.
Who can attach a scanner or a printer
Attaching hardware to a work center is a configuration action, so the work center's IoT page only appears to a user whose account holds at least the IoT app's User access level, set on the Access Rights page of that user under Settings ‣ Users & Companies ‣ Users.
The operator who scans or prints needs none of this. Reading the tablet screen and pressing its buttons only needs the ability to open the work order itself - no Internet of Things (IoT) access level at all. This is by design: once an administrator has attached the hardware, any ordinary Manufacturing user can use it.
Usage
Scan to drive the tablet work order
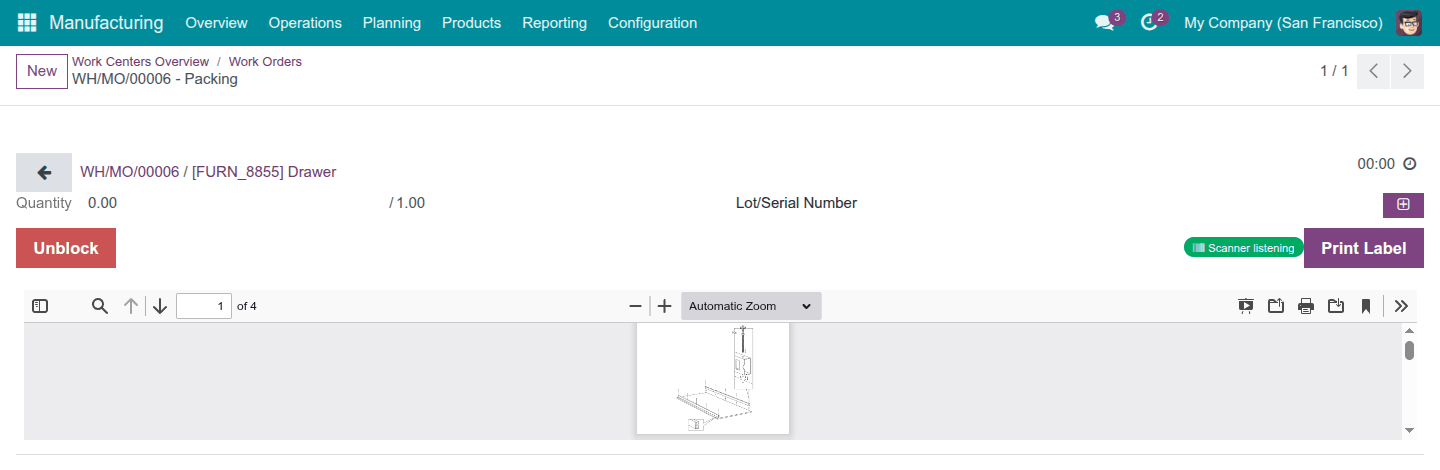
Open Manufacturing ‣ Planning ‣ Planning by Workcenter (or Planning by Production), open a work order at a work center carrying an attached scanner, and click Open to reach its tablet screen. A small chip appears on the actions row and reports what the station's scanner is doing:
- Scanner listening - a scanner is claimed and ready. A lot or serial label scanned now binds the finished lot exactly as it would from a scanner plugged into the tablet; a GS1 weight label fills the produced quantity in the order's own unit, or is refused outright if it does not match; and a printed command barcode - the same sheet used for Start, Pause, and Done - presses the button it names instead of being recorded as a value.
- Scanner unreachable - the station's IoT box did not answer. This is the state a station shows when no physical scanner is actually connected, as on the instance this guide was written against: the chip says so plainly rather than pretending the scanner is still listening.
- Scanner in use by another screen - another open tablet already holds this station's scanner. Closing that other screen returns it here. (This state is documented from the module's own design and translations; it needs a second screen open on the same station to reproduce, and was not reproduced live in this run.)


Not every scan changes something on screen, and that is expected rather than a fault. A read too short to be a real barcode is dropped silently, the same as it would be from any other scanner. A data barcode the work order cannot accept right now - the wrong unit, or the wrong state - is refused with the same message a tap on the tablet screen would have produced, never in silence. A printed command barcode presses the button it names and is never recorded as data; if the screen currently on display carries no button with that name, nothing happens at all. A scan that visibly does nothing is a real, working outcome of this design - not a sign the scanner failed.
Print the finished unit's label
Once a printer is nominated for the station, a Print Label button appears on the same actions row. Click it - or scan the same printed command barcode already used for Start, Pause, and Done - to send the finished unit's label straight to that printer, without putting the scanner down. The button itself, and what happens after it is pressed, belongs to IoT Manufacturing; see that module's own documentation for how the print is confirmed and what its label looks like.
Troubleshooting
- The scanner status chip never appears at all. The work center has no scanner attached, or none is registered as a Scanner-type device yet. Attach one under Manufacturing ‣ Configuration ‣ Work Centers, on that work center's IoT page.
- The chip reads Scanner unreachable. The station's IoT box could not be reached - check that the box is powered on and reachable on the network. A tablet opened with no physical box at all, as in this guide's own screenshots, always ends up in this state.
- The chip reads Scanner in use by another screen. Someone else already has this work order's tablet screen open elsewhere. Close that other screen to release the scanner back to this one.
- A scan visibly does nothing. This can be entirely normal - see the note at the end of "Scan to drive the tablet work order" above. If a data barcode should have been accepted and was not, check that its unit and the work order's current state actually match what the label claims.
- The Print Label button does not appear. No printer is nominated on this work center yet. Nominate one on the work center's IoT page, next to where the scanner is attached.
FAQ
- Does the operator scanning or printing need any IoT permission? No. Once an administrator has attached the hardware, any Manufacturing user who can open the tablet work order can scan and print - no Internet of Things (IoT) access level is required.
- Can a work center have more than one scanner? Yes. Every scanner attached to the station is listened to at once, and a scan means the same thing whichever one produced it.
- What happens on a work center with no IoT scanner attached? Nothing changes. The tablet screen looks exactly as it does today, with no chip and no Print Label button.
- Does this module work without a physical IoT box connected? The tablet screen still opens and works normally by touch; only the scanner chip and the barcode path need a real, reachable box. This guide's own screenshots were captured without one, which is exactly what Scanner unreachable looks like.
This software and associated files (the "Software") may only be used (executed, modified, executed after modifications) if you have purchased a valid license from the authors, typically via Odoo Apps, or if you have received a written agreement from the authors of the Software (see the COPYRIGHT file).
You may develop Odoo modules that use the Software as a library (typically by depending on it, importing it and using its resources), but without copying any source code or material from the Software. You may distribute those modules under the license of your choice, provided that this license is compatible with the terms of the Odoo Proprietary License (For example: LGPL, MIT, or proprietary licenses similar to this one).
It is forbidden to publish, distribute, sublicense, or sell copies of the Software or modified copies of the Software.
The above copyright notice and this permission notice must be included in all copies or substantial portions of the Software.
THE SOFTWARE IS PROVIDED "AS IS", WITHOUT WARRANTY OF ANY KIND, EXPRESS OR IMPLIED, INCLUDING BUT NOT LIMITED TO THE WARRANTIES OF MERCHANTABILITY, FITNESS FOR A PARTICULAR PURPOSE AND NONINFRINGEMENT. IN NO EVENT SHALL THE AUTHORS OR COPYRIGHT HOLDERS BE LIABLE FOR ANY CLAIM, DAMAGES OR OTHER LIABILITY, WHETHER IN AN ACTION OF CONTRACT, TORT OR OTHERWISE, ARISING FROM, OUT OF OR IN CONNECTION WITH THE SOFTWARE OR THE USE OR OTHER DEALINGS IN THE SOFTWARE.